
Financial security and comfortable living rely on a thorough assessment of both the developer and the technical condition of the property. Conducting due diligence on the developer and inspecting the property before purchase helps you spot potential risks, greatly reducing the chance of future issues. Discover step-by-step actions that guarantee peace of mind and confidence when buying a new home or apartment.
Table of Contents
- Why It’s Essential to Check the Developer Before Buying Property
- How to Verify a Developer’s Reliability: Step by Step
- Key Documents for Assessing Property Condition
- Thermal Imaging and Other Property Inspection Methods
- Visual Property Assessment: What to Watch For
- Summary: Key Steps Before Buying from a Developer
Why It’s Essential to Check the Developer Before Buying Property
Buying a home from a developer is one of life’s biggest financial decisions. That’s why verifying the developer’s credibility and company track record is critical for a safe transaction. The developer is responsible not just for construction, but for the entire process—securing land, obtaining permits, handing over units, and addressing defects during the warranty period. Choosing an unreliable developer exposes buyers to delayed handover, unexpected discrepancies between promised and delivered standards, and even legal issues related to property titles or occupancy permits. Skipping due diligence can bring long-term stress, extra costs, or, in worst cases, lost savings or years of mortgage payments for a subpar property. A review of the developer’s market reputation and financial standing reveals whether you’re dealing with a stable firm with a proven track record—or a company on the brink, at risk of project delays or even bankruptcy. Analyze financial statements (where available), industry reports, KRS records, developer registry listings, and check for any listings in debt registers. A trustworthy company will have no problem presenting key documents such as the info prospectus, construction permits, project plans, or a payment schedule compliant with developer law—this is the first test of transparency and professionalism.
Checking the developer also lets you verify that marketing promises reflect real delivered quality. Compare finished projects’ quality (finishes, amenities, landscaping, detail work) with what’s advertised. It’s also crucial to examine feedback from previous buyers—forum posts, social channels, and real estate portals can reveal recurring issues like mass complaints, slow customer service, months-long defect repairs, or unclear settlement of parking spaces and amenities. Focus on patterns instead of isolated emotional comments—these point to systematic company problems. This due diligence is also vital when buying resale properties in newer developments, as after-sales service, defect history, and responsiveness often still depend on the original builder.
Equally important is transaction security and protecting your finances. Reliable developers comply with developer law, use escrow accounts (open or closed), and are transparent about how banks monitor construction progress and funds. This means buyers’ money is released only after real progress is confirmed, minimizing loss risk. Always check if the developer agreement contains any abusive clauses (e.g., excessive penalties for buyers, vague finish standards, unilateral space changes). Established brands ensure document clarity and are open to questions or legal consultations—making informed choices easier. Properly reviewing the developer’s history also protects you from projects on land with unresolved legal title, mortgages, or easements that could limit your future enjoyment. Review the land registry and the developer’s right to build on the site. Good developers also engage with local community and authorities: absence of resident protests, planning disputes or scandals is an indirect sign they plan lawfully and responsibly. See if they keep their promises regarding playgrounds, sidewalks, greenery, etc. Projects by reputable firms typically retain value better, are easier to rent or sell, and have more predictable running costs thanks to solid technical infrastructure. Each hour spent on thorough due diligence can save months of headaches and thousands of dollars in losses from a poor choice.
How to Verify a Developer’s Reliability: Step by Step
Checking a developer’s reliability before signing should follow a structured, objective process. Start by gathering full company data: name, KRS, NIP, REGON, address, and details of owners or board members. Use this information to verify the developer in the National Court Register (KRS Online/Portal) and the CEIDG, if it’s a sole proprietorship. Confirm the company exists, is not under liquidation or bankruptcy, and that management changes aren’t suspiciously frequent. Next, analyze company history—how long has it operated, how many projects completed, in which locations, and at what scale. A long-standing business with several finished projects similar to your prospective development is usually a safer bet than one with no track record. Ask to see a portfolio of completed projects—visit them both online (photos, maps) and in person, noting building condition, common areas, landscaping, and overall upkeep after years of use. Check if previous marketing materials matched delivered reality. Analyze capital group links (if any)—connections to other firms, their financial shape, any litigation, and market reputation. Membership in developer organizations (e.g., Polish Association of Developers) signals basic ethical and quality standards, though it is not a guarantee. After basic ID comes financial analysis—review all available financial statements, revenue, profit, debt, and any audits; consistently high debt, frequent losses, or sudden swings are red flags worth consulting a financial or legal advisor about.
Next, review investment documents and customer feedback. Analyze the compulsory info prospectus: it must include project details, construction schedule, financing method (bank loan, own funds, escrow), liens, plot numbers, spatial plans, and prior projects info. If a developer refuses to share the prospectus or pressures you into a quick reservation or signing, that’s a major warning sign. Examine building permits, administrative decisions, and project blueprints—their absence or inconsistencies suggest legal risks. Verify the developer with debtor registers (KRD, BIG, ERIF), the Court & Economic Monitor, and any ongoing enforcement or bankruptcy proceedings. Excess enforcement activities or frequent court listings may indicate financial trouble, potentially leading to construction halts. Closely scrutinize the purchase agreement for abusive clauses—compare with UOKiK’s list and consult a real estate lawyer. Ensure buyer funds are protected via a (preferably closed) escrow account. Supplement document checks with reviews from previous and current buyers—look online or speak directly with residents, and ask about handover timing, contract-standard delivery, defect response, and customer service. Finally, assess organizational culture and transparency in person: does the sales office answer all questions, present documents freely without sales pressure, and hold open, detailed conversations about warranties, guarantees, and project specifics? The sum of these formal, financial, and practical checks gives a complete picture of developer credibility, minimizing your risk before you commit.
Key Documents for Assessing Property Condition
Evaluating a property’s technical condition before buying can’t rely on walkthroughs alone—complete, trustworthy documentation is key. This verifies how the building was designed, constructed, and maintained. Start with the construction and executive project plans (where accessible), detailing structural solutions (floors, foundations, load-bearing walls), systems (electrical, plumbing, ventilation, heating), insulation (thermal and acoustic), and used materials. This lets you confirm whether the property matches the developer’s marketing promises and if technical parameters (insulation thickness, window heat transfer, etc.) meet modern energy efficiency standards. Building permits and any substitutions are just as vital—they show zoning compliance, technical obligations, and whether substantial changes were made legally. The construction logbook is fundamental: it details the course of works, materials, each inspected stage, and any issues. Though buyers often have to insist for review, it reveals if work matched the project and legal requirements—and if there were significant failures or repairs. For properties already occupied, as-built documentation and as-built geodetic surveys confirm the actual building matches plans (volume, room layout, utility runs)—crucial for both safety and defect risk.
The occupancy approval protocol and decision (or silent approval where allowed) are essential for technical validation. Technical handover protocols—authored by the site manager, supervision inspector, or property manager—must include tests of all systems (gas tightness, water and heating pressure, ventilation checks), as well as a list of detected defects and notes on whether they were fixed. Periodic review protocols, required yearly or every five years, cover all at-risk building elements; missing or repeating issues indicate neglect or serious construction problems. Demand documentation confirming energy performance: the energy certificate is now legally obligatory and enables you to estimate future heating/cooling costs, verify insulation quality, and spot weak points. Supplement with technical and warranty manuals for all devices (boilers, heat pumps, ventilation, lifts, fire systems) plus startup protocols. Lastly, obtain the homeowners’ association or co-op’s regulations and documents—they show past and planned repairs, and the maintenance fund status, indirectly reflecting the building’s overall condition. Reviewing all these documents, ideally with an independent engineer or building expert, lets you objectively assess technical risk, estimate repair costs, and negotiate better buying terms with the developer.
Thermal Imaging and Other Property Inspection Methods
Thermal cameras are among the most effective tools for evaluating a home’s true technical condition before purchase—especially in new builds, where many problems are invisible. Thermal imaging records heat radiation from building elements (walls, ceilings, roofs, windows, doors), highlighting temperature differences that reveal hidden faults. This identifies thermal bridges, insulation gaps, poorly seated windows, missing facade insulation, weak lintel insulation, or spots where condensation and future dampness or mold may develop—often before you’ve signed any contracts. Identifying these issues early prevents high heating bills, cold spots, or expensive repairs. For reliable results, commission a thermal inspection during the heating season (minimum 10–15°C difference between inside and out). Inspectors take thermal photos and deliver a report detailing discovered issues and their implications—an excellent bargaining chip to demand fixes or renegotiate price. Thermography also locates heating circuit leaks or faulty electrical system components, vital for fire safety.
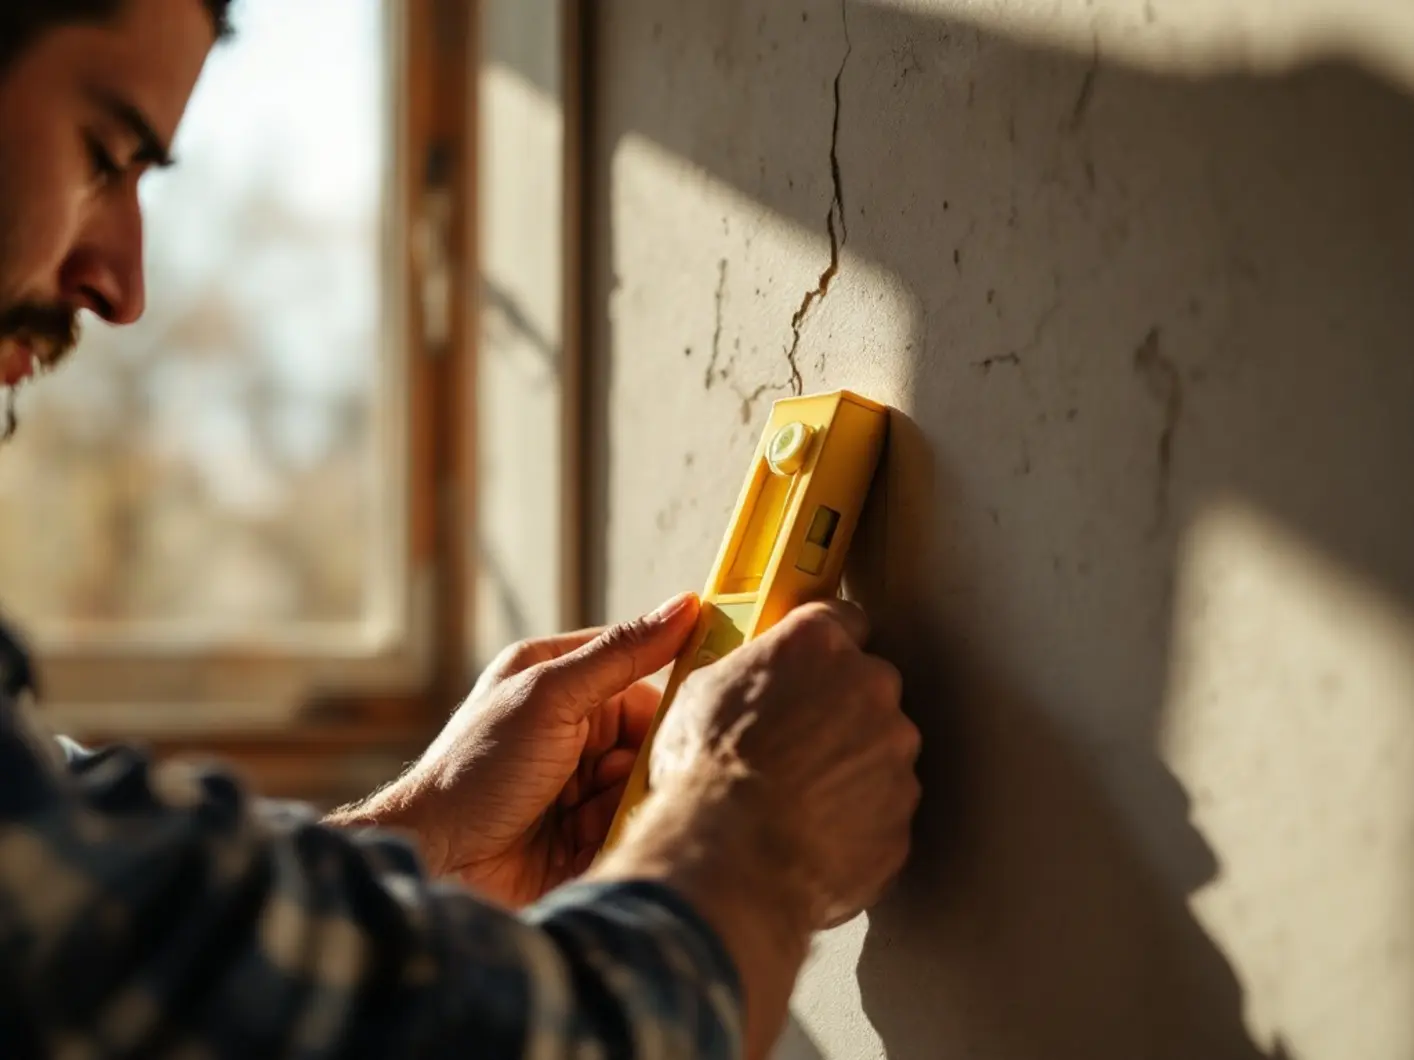
Beyond thermal imaging, a full pre-purchase technical check should use several other tools/methods. Basic humidity checks use hygrometers/moisture meters on walls, floors (especially in bathrooms, kitchens, window areas, external walls, and underground garages). High humidity suggests leaks, defective waterproofing, or ventilation flaws. Building endoscopes—small cameras on cords—let you examine tight spots (behind plasterboard, installations, ceilings, or utility niches) for insulation quality and cable runs. Use spirit levels, laser levels, and distance meters to validate wall verticality/horizontality, floor flatness, ceiling heights, and installation of doors/windows—checking for alignment with project specs. Ventilation airflow can be checked with anemometers or smoke tests; poor ventilation is a common new-build flaw leading to stale air and moisture. Electrical systems should be checked by certified electricians. Test sockets, circuit protection (grounding, wiring), and verify water/sewage systems for leaks and blockages. Laser scanning and high-precision measurement are increasingly popular for fit-out planning and catching off-plan discrepancies before furniture or kitchen work begins. Only a qualified inspector or engineer can correctly interpret all results—to distinguish cosmetic flaws from issues impacting safety, comfort, or future running costs. By combining thermal imaging with these diagnostic tools, you’ll have a realistic—not just advertised—understanding of the home’s quality before you buy.
Visual Property Assessment: What to Watch For
Your initial visual assessment is the first line of defense—a chance to spot many hidden problems before investing in expensive expert reports or lab tests. Viewings should be in daylight, ideally with two visits at different times to observe sunshine, noise, or neighborhood activity. Outside, check the facade for cracks, leaks, peeling cladding, or wavy surfaces—these may indicate insulation or structural trouble. Diagonal cracks from window/door corners suggest subsidence or structural faults. Examine balconies, flashing, sills, junctions—poor details allow leaks, damp or corrosion. Evenness of grout, consistent render color, and tidy corners point to better workmanship. Assess communal areas—site access, sidewalks, driveways, parking spaces. Water pooling, sinking paving or muddy approaches signal drainage problems or a cheap base. Stairwells/garages are telling: look for ceiling/floor cracks, damp, visible installations, corrosion, or efflorescence. Fire safety must be present—clear exits, extinguishers, hydrants, fire doors that close properly. Check for design coherence—random color/lighting mismatches or “temporary” finishes often indicate rushed completion or lack of final polish.
Inside, start with the overall impression and geometric layout. Walls and ceilings should be flat with no waviness, “hills and valleys” at plasterboard joints, and all corners at true right angles—deviations cause hassle for custom cabinets, kitchen fit-outs, and doors. Inspect plaster and finishing—fine cracks, surface pitting, visible seams, or uneven sanding suggest rushed work. Floors must be level and firm; a simple ball or object rolling unaided can reveal dips or slopes. Window and door frames should have even, filled joints, and open/close smoothly without sticking or springiness, which can signal warping. Inspect sockets/switches for tight, flush placement and logical locations (especially in kitchens and near TVs). In the bathroom, tiles should have even grout, no protruding edges, and neatly finished corners—color discrepancies, hollow sounds, or cracks can mean underlying moisture issues. Floor slopes must direct water toward drains. Look for damp, staining, or moldy smells—these are never acceptable. Check acoustics—have someone walk, close doors, or flush water; excessive sound transfer signals weak acoustic insulation. Finally, view from the windows: note distances to neighbors, noise sources (roads, shops, playgrounds, garage access), and orientation—the real determinants of daylight and comfort, often glossed over in marketing.
Summary: Key Steps Before Buying from a Developer
Before making your final decision, structure your actions to minimize legal, financial, and technical risk. Start by gathering all company information—verify names, KRS, NIP, REGON, bank details—and check all records (KRS, CEIDG, beneficiary registry). Research company history: how long on the market, completed investments, experience in your segment and finishing standard. Use official data (financials, reports, court listings) and informal sources—customer opinions, forums, and groups for each community. Next, check financial reliability—is the developer free of debt lists, ongoing enforcement, or customer disputes? Is escrow used per the law? If the developer checks out, move to scrutinize the specific project. Read the information prospectus thoroughly, comparing land status, construction phases, financing, amenities, and finish standards. Compare data with municipality planning documents to ensure no future nuisance developments. Demand to see building permits, the construction logbook, and as-built documentation—look for unauthorized project changes or major work stoppages. Independent engineer support is invaluable for document checks and technical walk-throughs for both your unit and common areas.
Alongside document review, conduct a full property inspection before you sign or take possession. Do it in daylight at different times, assessing sunlight, noise, estate traffic, and infrastructure. Start with the building’s surroundings: access, parking, drainage, landscaping, and exterior finishes (facades, balconies, terraces, roofs). Inside, inspect stairwells, lifts, garages, HVAC rooms, and fire systems—these common areas often reveal real build quality. Within your apartment, go beyond just looking at walls or floors: measure actual space, wall levels, and use specialist tools (thermal imaging for leaks/bad insulation, moisture meters, endoscopes for hidden spaces). Always review the energy performance certificate, installation review reports, and the final work handover protocol (covering all system tests and any defects). Carefully read the developer agreement: check not just price, area, and handover date, but also penalties, project changes, metrage calculation, warranty covers, termination rights, and handover procedures. Consult your real estate lawyer for potentially unfair clauses and areas that can or should be negotiated. Only after bringing together your developer checks, project documentation, technical property assessment, and careful contract review should you proceed with financing, notarial deed, and physical move-in.
Conclusion
Before buying property, it’s crucial to carefully check both the developer and the building’s condition. Begin with developer due diligence and document review, use advanced technical inspection methods, and follow with a detailed visual assessment. These steps help you make an informed decision, minimizing risk and ensuring peace of mind for the future.


