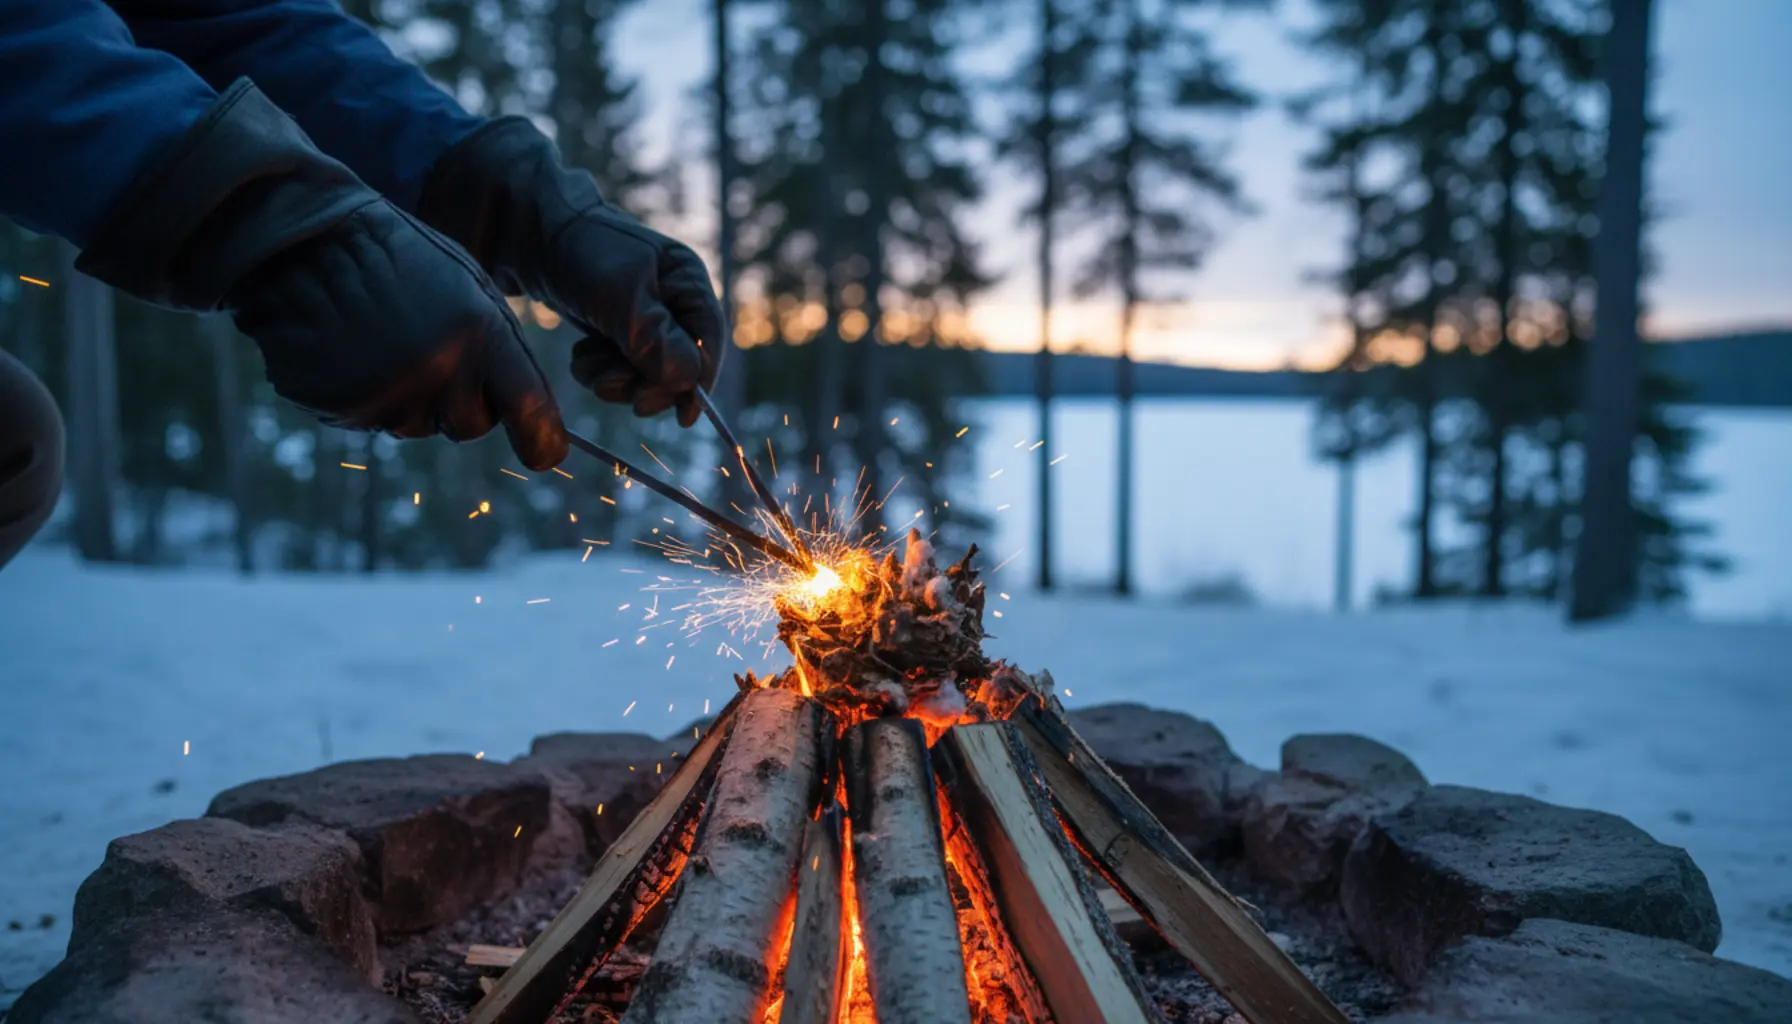
Lighting a fire without matches is not just a survival skill, but also an opportunity for an interesting outdoor experience. Discover practical methods that will increase your safety and effectiveness on any trip. Learn how to use modern tools and traditional techniques so lighting a fire without matches becomes reliable even in challenging conditions.
Table of Contents
- Fire Starting Techniques with Firesteels
- Choosing a Fire Site
- Natural Barriers and Wind Protection
- Modern Ignition Methods
- Using Magnesium Rods
- Lighting a Campfire in Difficult Conditions
Fire Starting Techniques with Firesteels
Lighting a fire with firesteels is one of the most reliable and timeless methods of generating a spark outdoors, highly valued in survival, bushcraft, and scouting. Today, the term “firesteel” most commonly refers to a ferrocerium rod (ferro rod) or a classic flint and steel set, though the working principle is similar: violently scraping particles of metal or mineral and heating them to high temperatures. Modern ferrocerium firesteels are a blend of rare earth metals, magnesium, and iron—when you briskly strike the rod with a dedicated striker, a stream of very hot sparks (even 3000°C/5432°F) is produced, easily igniting properly prepared tinder. The classic flint and steel set requires more skill, produces fewer sparks, but is extremely durable and virtually inexhaustible. However, the key to success in both cases is not the firesteel itself, but precise fuel preparation: from very fine, easily combustible tinder, through thin twigs, up to thicker wood logs. Without such prep, even the best firesteel will yield only temporary sparks, not a permanent flame. In practice, the process starts with gathering dry, well-aerated tinder—dried grasses, mosses, peat moss, very thin birch bark, plant fluff (e.g. from reeds or cattails), cotton fibers, or cosmetic pads all work well. It’s important to keep the tinder as loose and fluffy as possible—packing it tightly prevents air flow and stifles the fire’s embryo. For flint and steel, the tinder (such as char cloth) is placed right at the edge of the flint so the spark can reach and slowly ignite it. With a ferrocerium firesteel, it’s best to form the tinder into a nest or “bird’s nest”—with a soft center and a firmer edge of fine fibers and thin twigs. The firesteel should be held so the sparks land directly in the center, not beside it—a common beginner mistake is to “scatter” sparks in the air, rather than directing them exactly where the ember needs to land. Another essential detail is the striker technique: most people naturally “push” the firesteel toward the tinder, which often knocks over the setup. It’s much better to stabilize the firesteel hand, hold the tip close to the tinder, then rapidly draw the striker “away from you” along the entire rod length—so sparks fly toward the tinder while the setup remains stationary. Pay attention to the scraping angle: too shallow produces few sparks, too steep wears out the rod quickly; the optimal is about a 45-degree angle with moderate pressure.
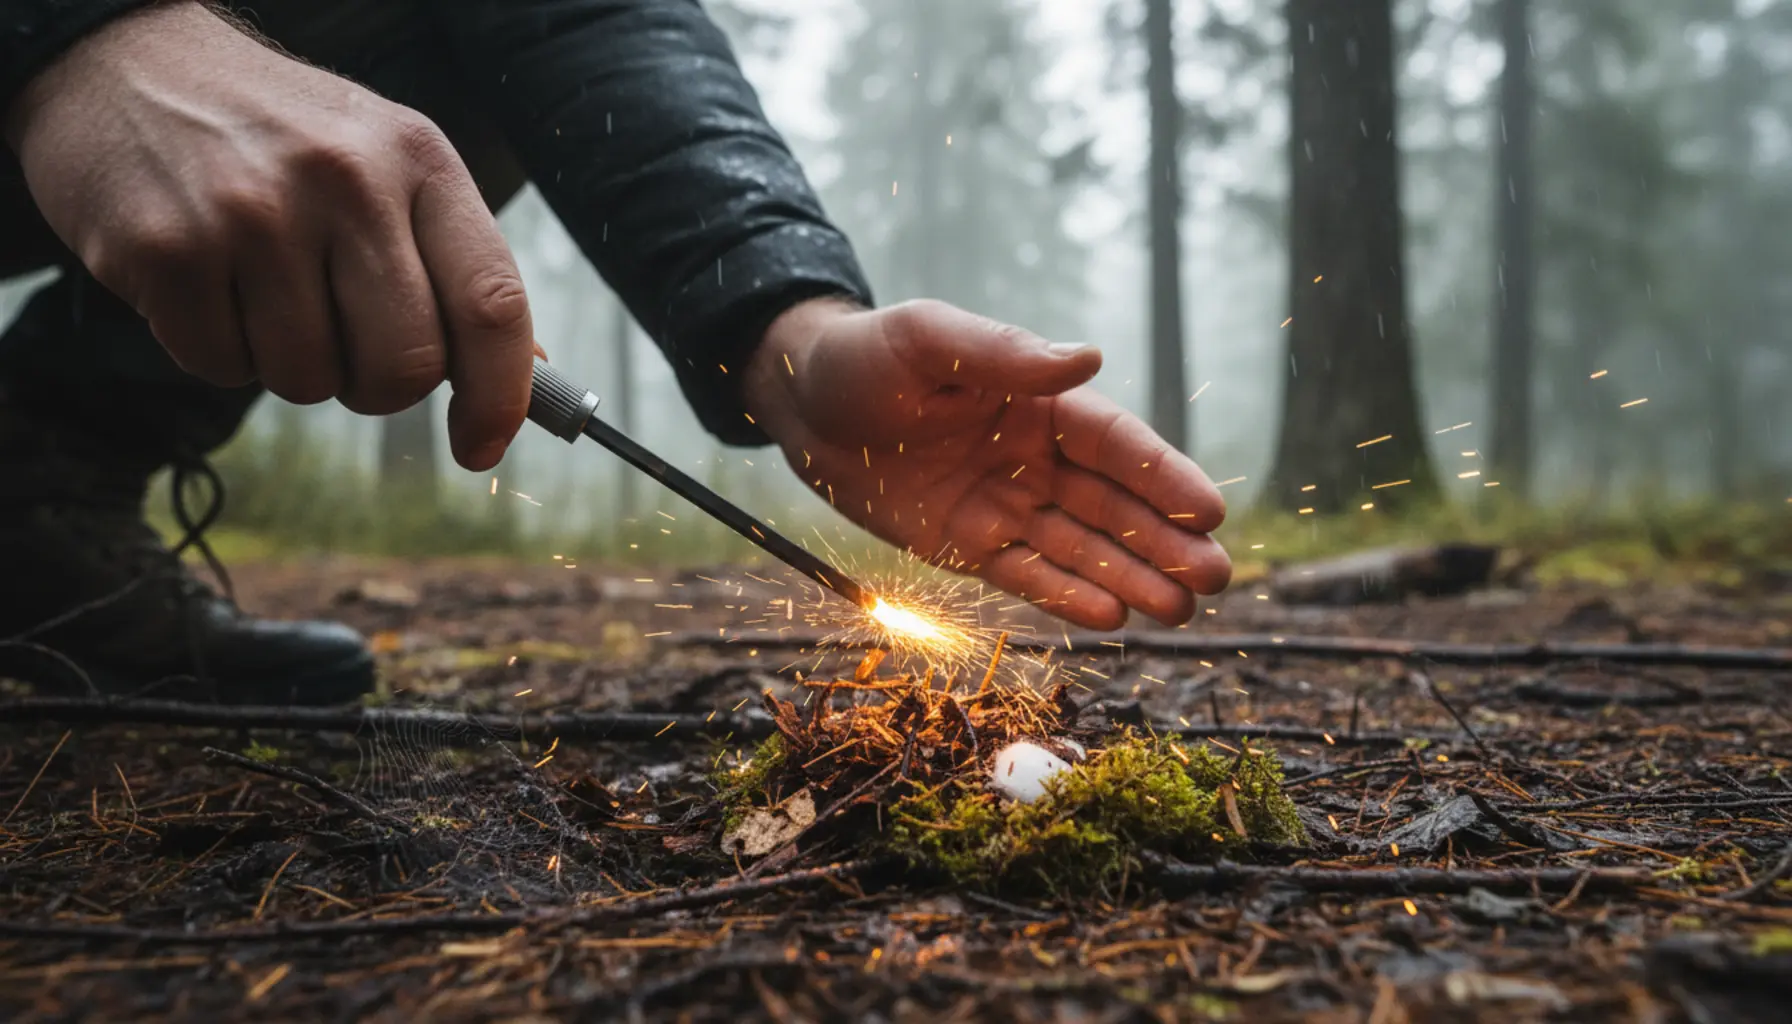
With the flint and steel set, the technique is different: you strike the sharp edge of the flint with steel, aiming to “catch” as many fine metal chips as possible, which turn into sparks. The tinder should be placed right where the sparks occur—usually against the edge of the flint—so the ember can “jump” to it and stay hot longer. When the tinder starts to smolder (a small red “eye” slowly expanding appears), move it into the previously prepared nest of dry fibers and gently but firmly blow, directing air diagonally from below. Too strong a gust can scatter the tinder and snuff the ember, too weak won’t fan the ember into a flame—the optimal puff is slow and repeatable, not a single strong blow. With ferrocerium firesteels, often the sparks alone will ignite cotton or resinous bark, but in wet conditions, it’s worthwhile having extra tinder ready: a piece of inner birch bark, shavings from very dry inner wood (so-called feather sticks), or ready-made, impregnated survival matches that can also be lit with sparks. A very practical tip is to first “scrape off” a little ferrocerium directly onto the tinder, then strike—the powder ignites almost explosively and rapidly “jumps” to surrounding fibers. Remember, even a good firesteel won’t work in very damp conditions without selecting the right place: protect yourself from the wind, seek natural shelter (a tree trunk, rock, or fallen logs), and keep the tinder from absorbing moisture—placing it on bark or dry wood, rather than on wet soil. Regular practice in safe conditions—at home, on your plot, during camping—sharpens your hand movement and judgment: how dry the tinder needs to be, how close to hold the firesteel, and how hard to blow to go from a tiny spark to a stable flame, which will easily ignite your prepared wood stack.
Choosing a Fire Site
Choosing the right spot for your campfire is as important as your ignition technique, and in many situations, it’s what makes stable flames possible in the first place. Safety-wise, the number one rule is always to stay away from flammable vegetation—dry grass, needle litter, shrubs, or low tree branches. Ideally, look for a natural “fireplace” in the terrain: a patch of bare earth, gravel, or sand, with minimum organic covering. In forests, avoid setting up right under tree canopies, especially spruces and pines, whose needles and resin ignite easily, as well as under dead/bent trunks or dry limbs overhead—they can catch fire or drop if hit by sparks. Look for natural wind barriers as well: rock walls, small ridges, or depressions that shield from wind and help retain heat, but beware of forming a “chimney” effect where the flame could spread quickly. Keep a safe distance from tents, tarps, and gear—campfires should be set up at least several meters away from sleeping spots so sparks don’t damage fabrics and smoke isn’t directed into your shelter. Remove any plastic gear, ropes, or backpacks—melted plastic is toxic and hard to clean. On slopes or in the mountains, check for stable ground as burnt roots or heated rocks can collapse. Campfires are particularly dangerous in wetlands, peat bogs, or thick moss—a smouldering underground fire can spread for hours or even days, unseen from above. That’s why it’s best to avoid making a fire on peat, thick moss, or where a stick can easily sink into the soft, moist organic layer. In winter, pick sites sheltered from the wind, but not in depressions where cold air and smoke gather; a slightly raised, flat ledge or edge of wooded terrain is better. On snow, compact or clear to hard ground because a fire on powder will simply collapse, and melting snow will cool the coals. Riverbanks and lakesides often provide ideal sand or gravel, but beware of rising water, slippery rocks, and never burn right on tree roots lining the bank. Always check wind direction; place your fire so the smoke does not blow toward your camp or paths used by others, and so sparks don’t “jump” into dry grass. If the weather is very windy, consider forgoing a big fire for a smaller, more controlled fire pit or camping stove usage.
When choosing a site, consider not just convenience and safety, but also regulations and Leave No Trace principles. In many parks and reserves, open fires are only allowed in designated spots—where metal rings, stone circles, or special grates are provided, you should use these instead of making a new fire. Elsewhere, fires may be banned during droughts or require special permits—always check local rules, forestry notices, and fire warnings before your trip. If unregulated fires are permitted, use pre-existing fire pits with coal remains and burned stones instead of making new ones—this limits environmental damage and unsightly burnt scars. In survival situations, priorities may shift: fires should serve as signals and for warmth, so pick a spot that’s reasonably safe yet visible from the air (a clearing, forest edge, or beach segment) and with the option to build a heat reflector from stones or wood beside the fire. However, even in a crisis, avoid proximity to large dry biomass, which could turn your fire into a wildfire. Once you find a place, prepare it carefully: remove dry litter, leaves, and small branches from at least a meter around the future fire pit down to bare earth or mineral soil, then—if possible—form a simple stone ring (not with rocks from water, which can crack from the heat). In very dry environments, consider a “raised fire bed”: a layer of mineral base (soil, sand, stones) separating flame from the duff. Watch for local wildlife—don’t build a fire at burrow entrances, under rocks with visible cracks, or where animal paths are frequent. Finally, plan in advance how to extinguish the fire completely: a nearby water source, sand, or soil on hand greatly increases safety. Conscious site choice and prep mean even a small fire lit without matches—using a firesteel, bow drill or lens—will be better protected from wind, easier to control, and won’t leave lasting environmental scars.
Natural Barriers and Wind Protection
Wind is one of the main enemies of a stable campfire—it cools the flame, scatters tinder and light fuel, and in extreme cases can carry embers to dry vegetation and increase wildfire risk. That’s why deliberate use of natural barriers and creating windshields is a key skill for anyone lighting fires without matches. The first step is observation—before you pick a fire spot, stand still for a few minutes and assess the prevailing wind (using grass, stove smoke, your breath, or a light leaf on string, for example). Seek natural barriers: slopes, hills, boulders, thick bushes, downed trees, or terrain depressions. The rule is not to set your fire right next to living tree trunks or under low-hanging branches—it’s safer to choose a slightly sheltered hollow some distance from vegetation than the “perfectly hidden” spot under a canopy, which could ignite from stray sparks. In strong wind, precise fire placement in relation to the barrier is crucial: the fire should be on the leeward (downwind) side, close enough that gusts are already much weaker, but with enough air still circulating for combustion. Too close to rocks or trunks can choke the fire or overheat the barrier, leading to splitting stone and smouldering wood. Natural depressions, like small gullies, act as air pockets that weaken wind, but avoid going too low into soggy bottoms—a moisture buildup can make fuel difficult to dry and light. Large boulders or rock walls are very practical—they store heat from the fire and act as reflectors aimed at the camper, increasing comfort and radiating heat back toward the fire, supporting combustion on chilly evenings.
If there are no obvious natural barriers, you can make a temporary windbreak using terrain elements and available natural materials. The most popular solution is arranging a “crescent” of stones on the windward side—the stones need to be stable and non-porous (avoid moisture-holding ones like some sandstones or rocks with air pockets, which might burst in heat), and big enough to soften gusts but not fully “closing off” the fire, as that would block oxygen. The stone barrier should form a low wall with gaps, not a solid screen—wind should be slowed and dispersed, not completely stopped. Alternatively, use logs or thick branches—laid parallel to the wind just in front of the fire, they absorb the strongest gusts but channel air above and below the barrier. In a survival situation, you can also use your backpack, sleeping bag in a cover, or sleeping pad as a temporary shield, but keep them at a safe distance to avoid melting or ignition; it’s better to use these to shield yourself while crouched between the wind and the fire, rather than as a structure. In forest terrain you can use dense bushes or saplings as a barrier, remembering to maintain safe distance and clear the ground to bare soil between flames and vegetation to minimize the chances of sparks landing on dry needles or leaves. In mountains or open areas, strong swirling winds complicate fire starting with firesteels—in such cases, building a miniature ‘fire well’: a small pit edged on three sides by stones, with the opening from the leeward side, helps. Tinder and light fuel are placed at the deepest point, and when the flame is stable, you can extend a “chimney” with thin sticks. In the last resort, crouch to shield the fire with your body for the first vulnerable minutes, but keep your face away from the flames to avoid smoke inhalation or burns. No matter the method, the goal is to shape the space around the campfire so wind is moderated, not eliminated—without airflow, coals die out, and too much wind blows away the flame and makes control harder. Skillfully combining natural barriers with simple structures makes for an effective, safe shield, supporting fire ignition even with a weak spark, such as from a firesteel or flint and steel.
Modern Ignition Methods
Modern tourism, bushcraft, and survival make great use of solutions that maximize fire starting reliability with minimum effort. One of the most popular tools are survival lighters—gas or petrol, featuring sealed bodies, metal casings, and the ability to work at various angles. Petrol models (like Zippos and similar) are valued for their cold resistance and convenient refueling, while jet (turbo) gas lighters produce a focused flame that copes better with wind, though they’re sensitive to very low temperatures and might fail if pressure is depleted. Plasma (electric) lighters—which use an electric arc instead of a flame—are gaining popularity: they’re wind-resistant, require no traditional fuel, and can be recharged from a powerbank or solar panel, but must be shielded from water and support only a limited number of “lights” per charge. Modern approaches also pay special attention to advanced tinder and kindling—from commercial paraffin cubes and fire gels, to wood wool soaked in wax, up to compressed alcohol-based tablets or solid fuel. Their advantages are predictable burning times and high flame temperatures, allowing you to dry twigs and ignite even partially damp wood quickly; but remember most such products need to be kept dry and used responsibly to avoid pollution or leaving litter outdoors.
Especially effective in the bushcrafter’s modern arsenal are electric fire starters, mainly portable gas burners and small camping stoves, which can serve as “starters” for a traditional campfire. Collapsible stoves for canisters or solid alcohol deliver stable flames, indispensable for drying wet tinder; the common practice is to use a burner to ignite, then transfer the flame to your prepared stack. Modern methods also mean smart use of energy sources you usually have anyway: 18650 cells in flashlights, powerbanks, batteries in radios or cameras; you can use these to heat thin resistance wire, steel wool spirals, or trigger a modified piezo lighter. The battery-and-steel wool ignition is a favorite—fine metal fibers, touching battery terminals (most often 9V or combined AAs), glow intensely as an effective tinder; this requires care, preparation, and keeping away from metal items in your pack to avoid accidental short-circuits. Solar power is another modern twist—compact “signal mirrors” with Fresnel lenses, collapsible reflectors, or bottles with built-in magnifiers can concentrate sunlight to ignite dry tinder, but are weather-dependent; many practitioners combine them with traditional tinder like amadou, charred cotton, or wax-infused cosmetic pads to boost success rates. Redundancy is a core feature of modern fire starting—in a well-equipped EDC and camping kit, there should always be at least two independent methods of ignition: for example, a plasma lighter, a classic ferrocerium firesteel, and a stash of ready-made tinder in a sealed container; regular gear maintenance (charging, checking seals, fuel replacement) and the habit of field-testing your kit before trips are important. By combining traditional techniques with modern gadgets, you boost your safety margin and reduce the risk of one failed tool ending your fire-starting hopes outdoors.
Using Magnesium Rods
Magnesium rods are among the most reliable tools for lighting a fire without matches—especially valued in survival, bushcraft, and long treks where moisture resistance and durability matter. The classic magnesium rod consists of a magnesium bar combined with a ferrocerium rod (firesteel), or the ferro rod is embedded on one side. Magnesium is highly reactive—after scraping it into fine shavings and exposing them to sparks, it ignites in a hot, bright flame above 2000°C/3632°F. This allows magnesium rods to ignite even slightly damp tinder or fine twigs, provided they’re well prepared and aerated. When choosing a magnesium rod, pay attention to its thickness (the thicker, the more uses), to having a solid striker/edge, and the type of attachment—models with a hole for paracord/lanyard are easier to carry and harder to lose. The rod itself is not “magic” —effectiveness is all about technique and preparation. First gather dry, fine tinder to catch the magnesium flame: shredded birch bark, feather stick shavings, dried grass, moss, teased cosmetic cotton with petroleum jelly, or specialist survival tinders. The tinder should be fluffy and nest-shaped—a small fiber bed with magnesium shavings in the center. It’s vital to choose a stable, dry surface—spread the tinder out on bark, a flat rock, or wood so the magnesium shavings don’t fall into wet soil or snow and get lost. Prepare thin, dry kindling before you start scraping magnesium; once it ignites, you have only a moment to transfer the flame onto fine twigs and gradually build a bigger fire structure, e.g. tipi or “well” design.
The process has several repeatable steps. Using the knife’s sharp edge or supplied striker, scrape a small but dense pile of magnesium shavings (about the size of a coin, or larger depending on dampness and tinder quality). Scrape with steady, controlled motions in one direction so shavings fall in the middle of your tinder, not scattered around. In cold or wet conditions, prepare a larger “pile” of magnesium, as some energy will be lost evaporating moisture from the tinder. Next, use the attached ferro rod—hold it close to the magnesium pile, making sure you draw the striker or knife along the rod, toward yourself, not pushing the rod toward the tinder; this minimizes the risk of blowing off the shavings and toppling the structure. A few solid strokes should generate a shower of sparks landing directly on the magnesium, causing instant ignition. At this point, stay calm—magnesium burns very bright and fast; immediately shield the small flame from wind (your hands, knees, or body leeward), and blow a steady, even breath to move the flame onto the tinder. Once the tinder is flaming, add the thinnest sticks, “feeding” the fire without crushing it, allowing it to grow. Typical mistakes are: too little magnesium shavings, trying to use wet or compacted tinder, scraping onto the ground, striking too hard and scattering magnesium, or not having the kindling ready so the flame goes out. Remember magnesium is soft and rods wear down rapidly, so it’s smart to practice with less and learn how much you actually need in various conditions. Safety-wise, avoid scraping magnesium over flammable synthetic materials (e.g., shell jackets), as sparks and lit shavings can embed in the fabric. Store the finished rod in a dry place, best on a lanyard on your belt or pack, safe from loss. Practicing regularly in controlled settings—garden, campsite, or outings—builds muscle memory so you can respond instinctively in stressful field situations when cold, rain, or wind make fire-lighting tough with classic techniques.
Lighting a Campfire in Difficult Conditions
Lighting a campfire in the rain, snow, strong wind, or high humidity requires a different approach than in comfortable, dry conditions. The key is understanding that it’s not just the ignition technique that matters, but also work organization, material selection, and protection from water and wind. The first step is always to secure your spot—if it’s raining, look for natural roofs (wide trees, overhanging rocks, earth shelves), or make a makeshift cover with a tarp, poncho, or even your backpack, under which you can prep kindling and small wood. On snow, dig a shallow pit to firm ground or build a platform of thick wood to keep your fire off the wet surface; a fire built right on snow will quickly sink and die, as melting snow absorbs heat. High humidity and rain mean surface wood is soaked, so look for it not on the ground, but “in the air”: suspended branches, dead but still standing trees, or dry deadwood caught in the branches of others often remain dry inside. Hardwoods like birch or resinous pine have layers that stay dry inside even when wet on the outside; splitting larger logs exposes a dry core from which you can shave fine curls or feather sticks—great at catching fire. In wet conditions especially, prepare plenty of fine material: instead of a few twigs, gather a big bundle of tiny sticks, dry needles, and shavings, as moisture will “eat” your heat faster than in dry conditions.
Strong wind can both help and hinder—it supplies oxygen but blows away the flame and embers. It’s vital to shield the fire while maintaining some air flow. A combination of natural barriers (boulder, slope, trunk) and a low, partial rock or wet-log wall on the windward side (so sparks and embers can’t jump outside the planned area) works best. In strong winds use compact fire designs like the “well” (fire in a small pit with upright wood pieces), top-down fire, or a tight stack, which propagates slower but resists wind. In harsh conditions, always double up on ignition sources: ferro rod + magnesium, lighter + storm matches, firesteel + dry chemical tinder; don’t rely on one gadget alone in rain or frost. Protect starting materials before your trip—store in waterproof zip bags, sealed containers, or wrapped in tape; petroleum jelly-soaked cotton, tampons, waxed fire starters, fatwood shavings, or pieces of bicycle tire can all be set alight with even a weak spark. In frost, cold hands and gear are an extra enemy—regular gas lighters lose pressure, and your fingers numb quickly, so light up in fingered gloves, and if possible, warm the lighter in a pocket first; ferro rods and magnesium rods work regardless of temperature. When it’s snowing or raining, expect to use more fuel—much of the energy will go to evaporate water from wood or surroundings, so before you spark, gather at least twice as much wood as you think you’ll need. In a true survival scenario when everything is soaked, use your knife to create a “dry wood factory”: split even medium branches, strip bark, shave the core into fine fibers, and form a tinder core, sheltering it from rain and wind with your body or pack; only add thicker logs when this “dry heart” is burning strongly, always laying new wood so it can heat up and dry before it contacts the flame.
Summary
Lighting a fire outdoors without matches doesn’t have to be a challenge when you know the right techniques and tools. Firesteels and magnesium rods are reliable options, especially in difficult weather conditions. Choosing the proper site for the campfire, ensuring protection from wind and rain, is equally important. Using modern methods and tools increases your chances of success, guaranteeing safe and effective fire-starting no matter the circumstances.